These Nanaimo bars are made following the traditional recipe. With just a few tweaks they are gluten free, vegan and nut free!
With the weather warming up the last thing that I want to do in the summer is to turn on the oven and bake. Thankfully these gluten free and vegan Nanaimo bars are no bake! They are so decadent and delicious and a perfect treat for a special occasion. I recently made them for a Mother’s Day get together and they were a big hit!
The first step is to make the gluten free graham cracker crumbs. Gluten free graham cracker crumbs can be difficult to find. Luckily one package of Schar’s gluten free graham crackers, pulsed in a food processor, yields the perfect amount needed for this recipe.
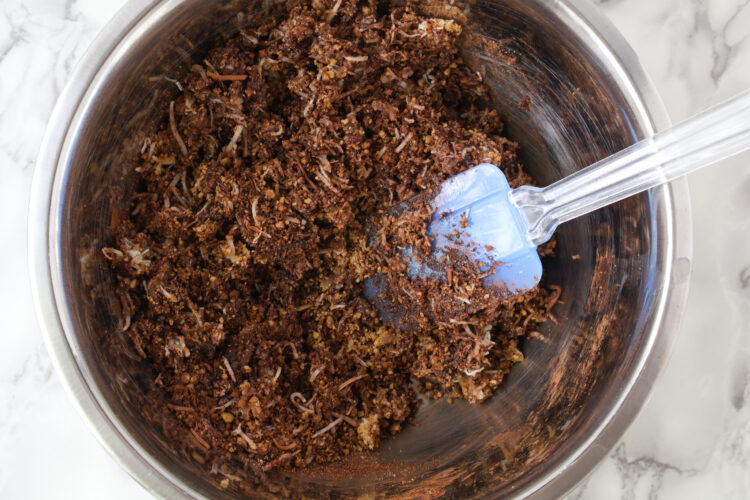
Mix the crumbs in with the cocoa powder, coconut, sugar, salt and melted butter and coconut oil. The coconut oil is not traditional but I find it helps keep the base of these bars relatively solid. Place parchment paper in an 8 x 8 pan for easy removal of the bars after they have set. Press the base layer into the lined pan as firmly as you can. I use a second piece of parchment paper on top of the base layer so I can really smoosh the layer down.

The base layer then goes into the fridge for a minimum of 30 minutes to set.
For the second layer, use a stand mixer for best results. Mix together softened butter, icing sugar, custard powder and soy milk. I like to start with 1 to 1 1/2 tbsp of the soy milk and only add more if needed. The mixture will look like beautiful, pale yellow icing.

Spread the icing mixture on top of the base layer as evenly as possible. Place it back in the fridge for another 30 minutes.
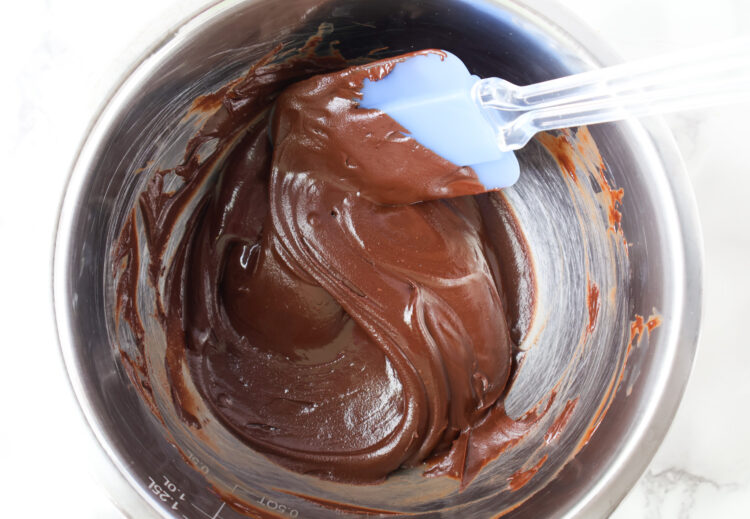
To make the top chocolate layer it is simply butter and chocolate chips melted together. I find it easiest to make this over a double boiler. Bring a medium sized sauce pan with a cup of water to a simmer and place a stainless steel or glass bowl overtop. Make sure that the bottom of the bowl is not touching the water, just being heated by the steam. It is easiest to melt the butter 90% of the way first and then add in 1/2 cup of chocolate chips. Stir constantly and everything will melt quickly. Once the chocolate chips have melted, carefully remove the bowl from the heat and stir in 2 more tablespoons of chocolate chips. This tempers the chocolate and gives it a smooth finish. Carefully spread the melted chocolate over the bars and place them back in the fridge.

To slice the Nanaimo bars lift them right out of the pan with the sides of the parchment paper. Then heat up a large knife by running it under hot water, drying it off and slicing the bars. This way the chocolate top does not crack. I usually have to run the knife under hot water multiple times when cutting the bars and I just use a paper towel to clean it off in between slices. The bars are best stored in the fridge and can even be frozen for up to 3 months. Because they are so decadent I prefer to cut them into smaller rectangles, getting 32 bars out of one pan but if you want to you can leave them as 16 bars. Enjoy!


